Sunday, January 16, 2011

I'd consider switching insurance just because of Dean Winters...

but Amica is a much better insurance carrier. That doesn't mean that Allstate doesn't have the best commercial spokesman EVER.

For all of you who didn't watch every episode of the thoroughly messed up show Oz (and then watched at least a few seasons a second time, only because you finally had to move onto other things in your Netflix cue but if you had all of the box sets you'd DEFINITELY be watching it again), Dean Winters played a terribly screwed up inmate, Ryan O'Reily, on the show. Before Oz, he was also on SVU for a stint as Brian Cassidy and continues to make appearances on USA where I obsessively watch the show (because I love it, not because I'm hoping he'll be on an episode. Sure is nice when he is, though!). After Oz, he jumped around but I didn't see anything he was on. (What was I thinking, right?)

And then, what's this? Dean Winters in an Allstate Insurance commercial? Over the years, he's filled out a bit, looking a little worse (read: better) for the wear. And because the commercials are based on him personifying "Mayhem", he's all banged up. And hilarious. I approve.

Here's the latest and greatest:


I've just got to include this one:


"OMG, Becky's not even hot." LOVE LOVE LOVE

Side Bar: That is the only time you'll ever see OMG or any of those other horrible little acronyms on my blog. They make me insane!!!! Now that I've gotten that off my chest, I. Feel. BETTER! [Willow!!!]

Allstate has posted all of the 16(!) Mayhem videos on YouTube. I highly recommend wasting a bunch of hours watching all of them.
Highly. Recommend.

Wednesday, January 05, 2011

More Craftastic Craftiness!

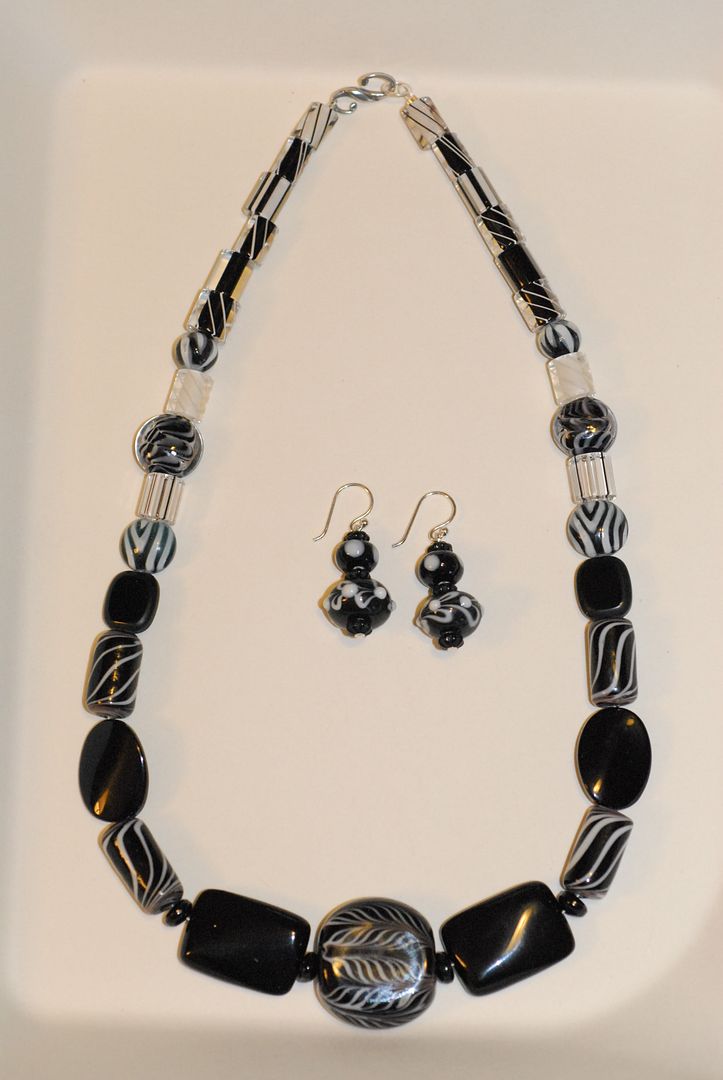
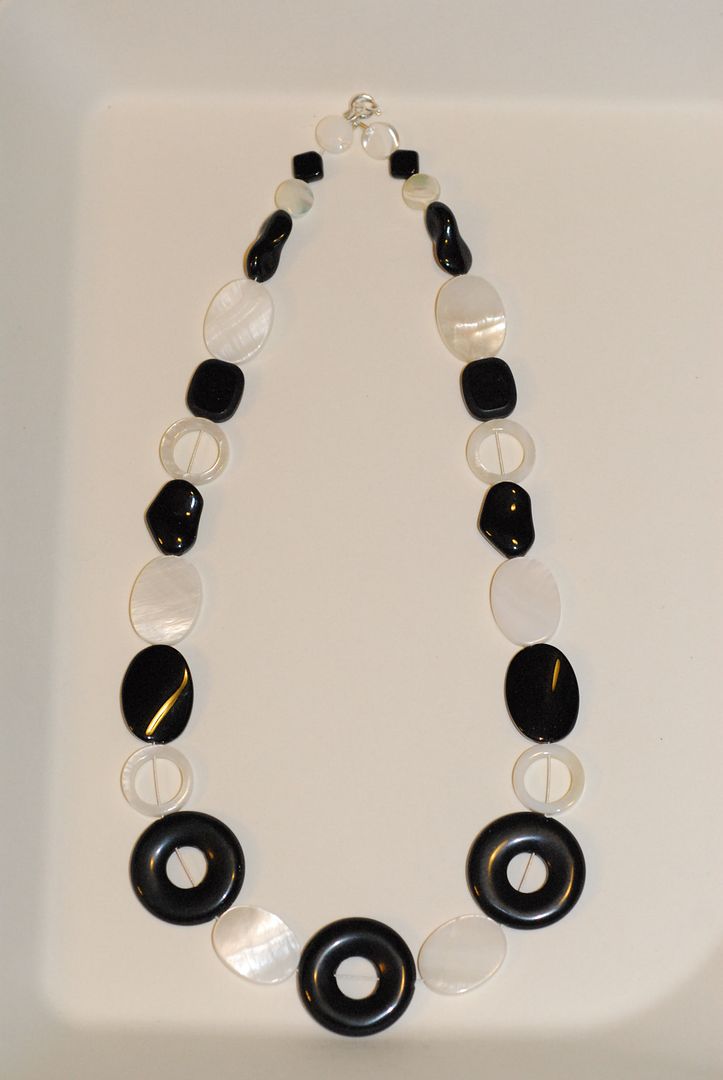
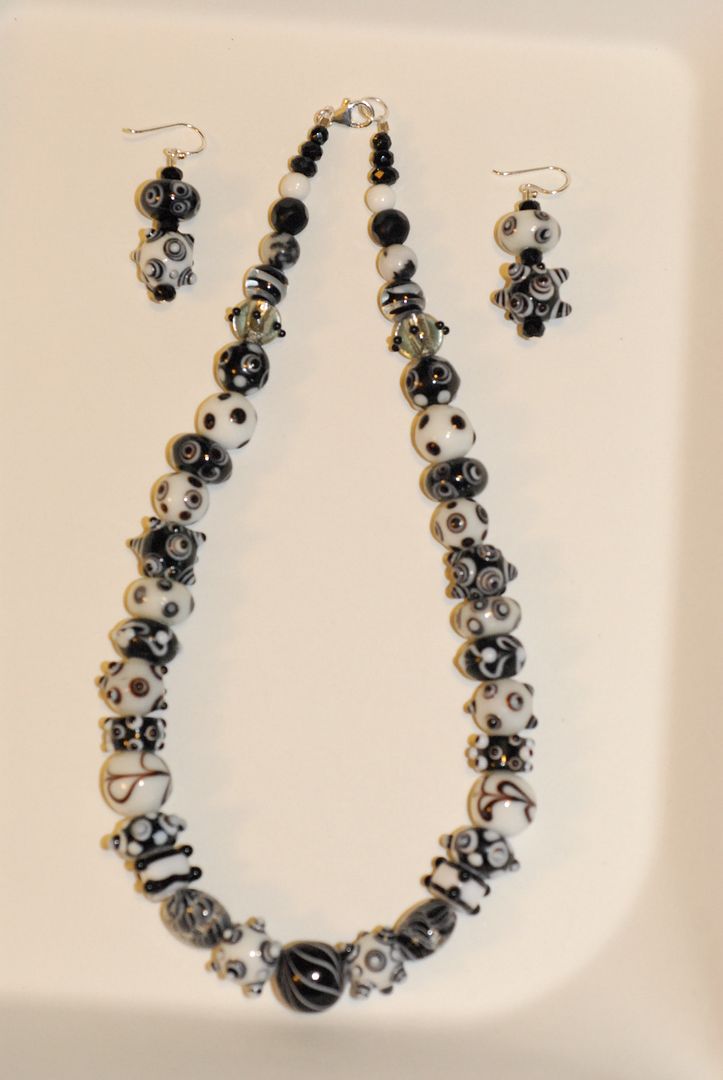
I even got crafty with presents this year. It's pretty addicting once the crafty ball gets rolling and I hoped they'd have more impact that going out an purchasing something. My mom really loves black and white jewelry and it's often really hard to find. So I scoured bead stores and the jewelry sites I frequent to find a bunch of different choices. Then I looked through her necklaces to find the lengths she likes and got to work. Along with the three necklaces, I made two pairs of earrings. She had a great suggestion to use just one bead on the earrings (she prefers 1/2" earrings) so the earrings in the picture are actually just the base bead now and look pretty cool like that. The photos are a smidge blurry, but you'll get the gist.

Photobucket

Photobucket

Photobucket

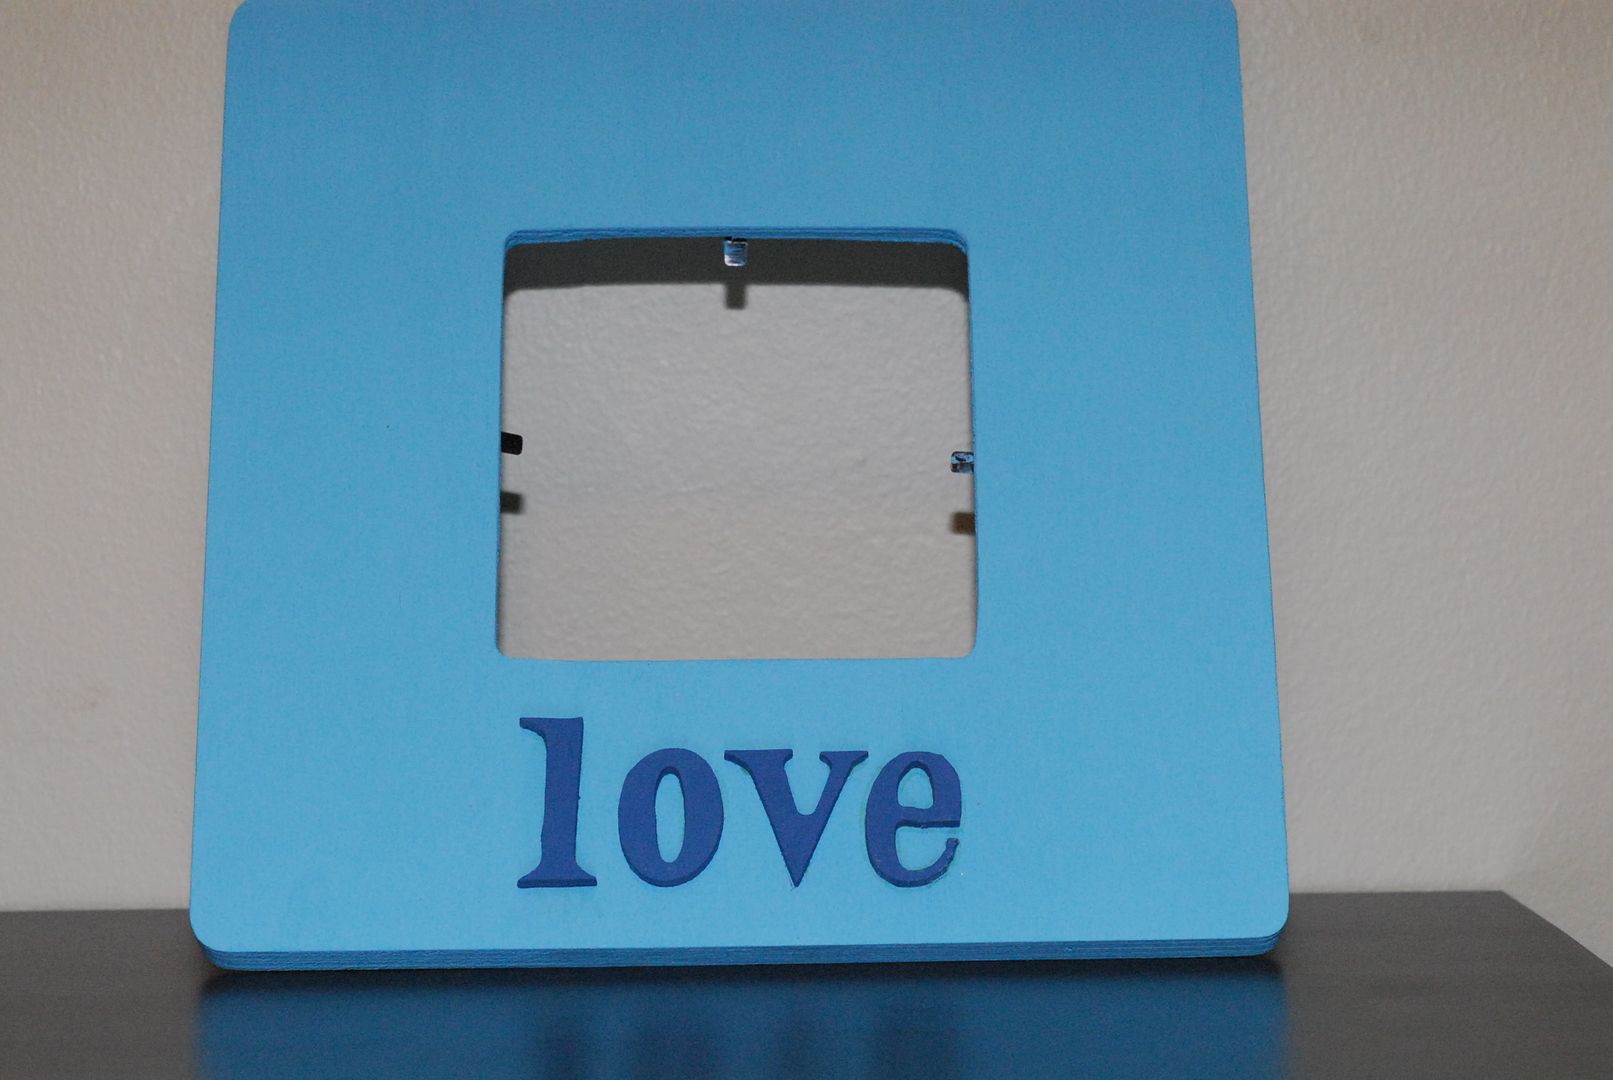
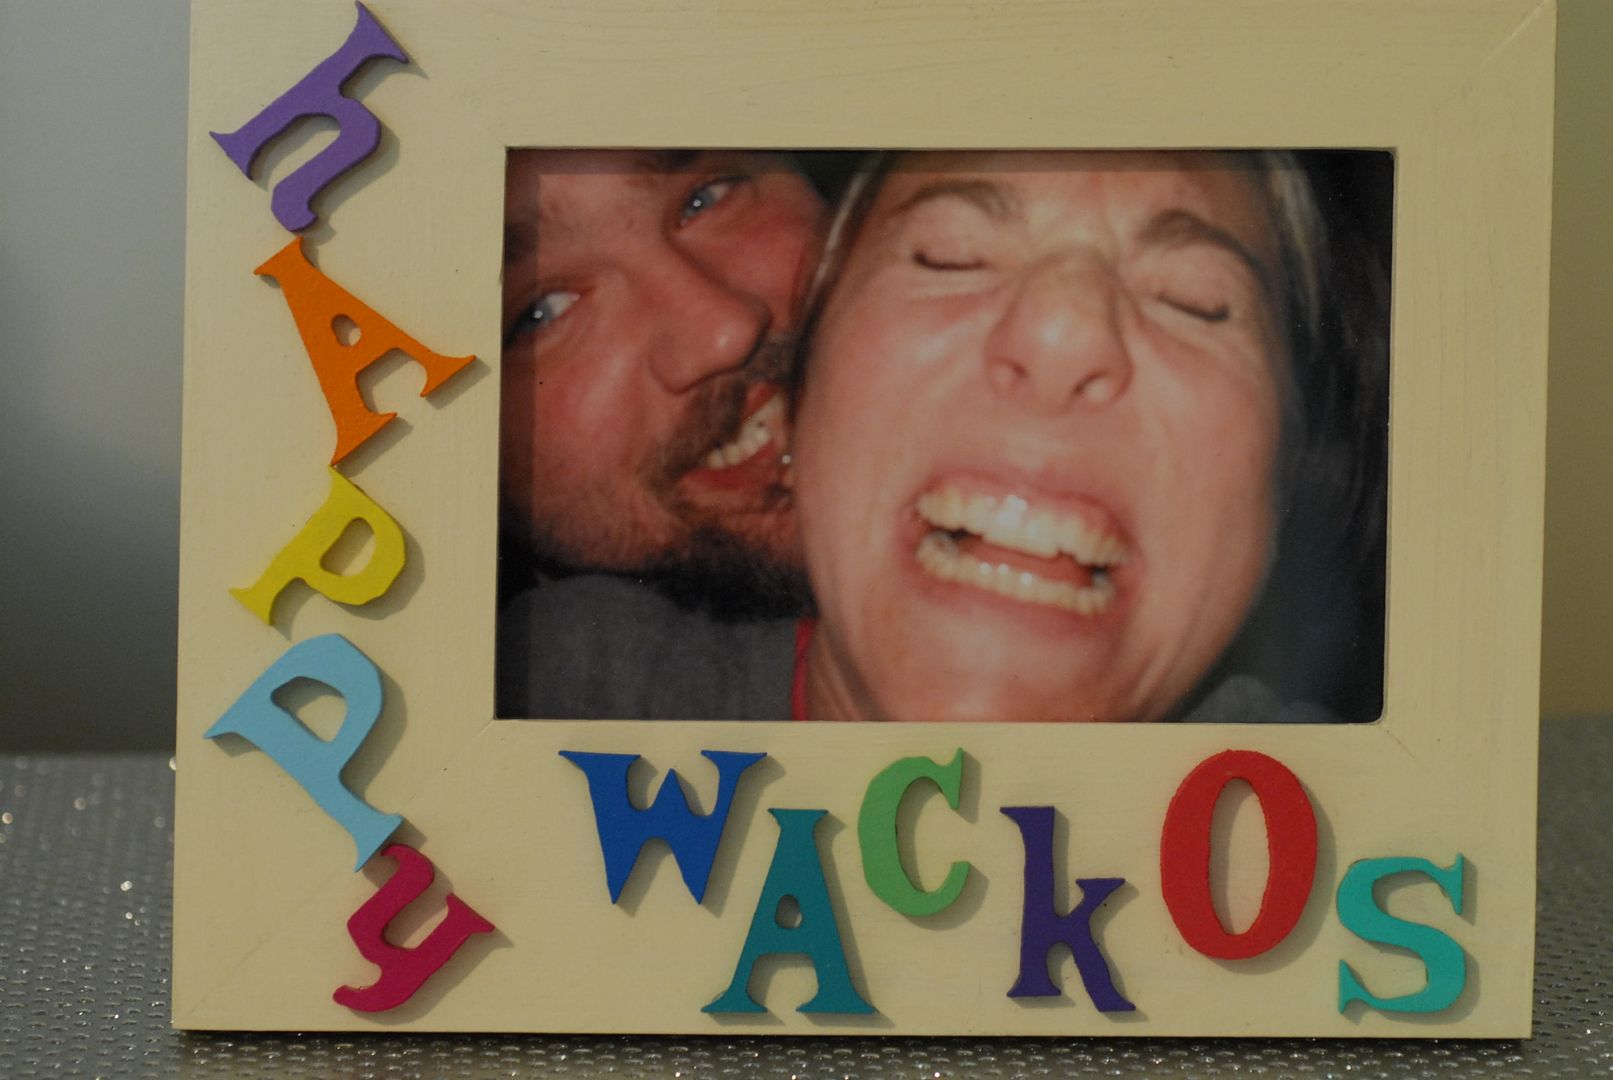
Continuing on with the woodwork, I discovered picture frames and letters. I found making these to be another hypnotic activity. Plus they allowed me to combine my photography with another creation. Both of these had photos I took in them when I gave them. I also made another for my dad that said, "L'amour" with a photo of my mom. I even went so far as to make the apostrophe myself by cutting up the tail of a “j” and sanding it down. I forgot to photograph it though since I finished the frame at my parent’s house.

Photobucket
I never took a photo of the finish product but just imagine a Stormtrooper and a Roller Derby Girl and it all comes together.

Photobucket
(Weirdos!)

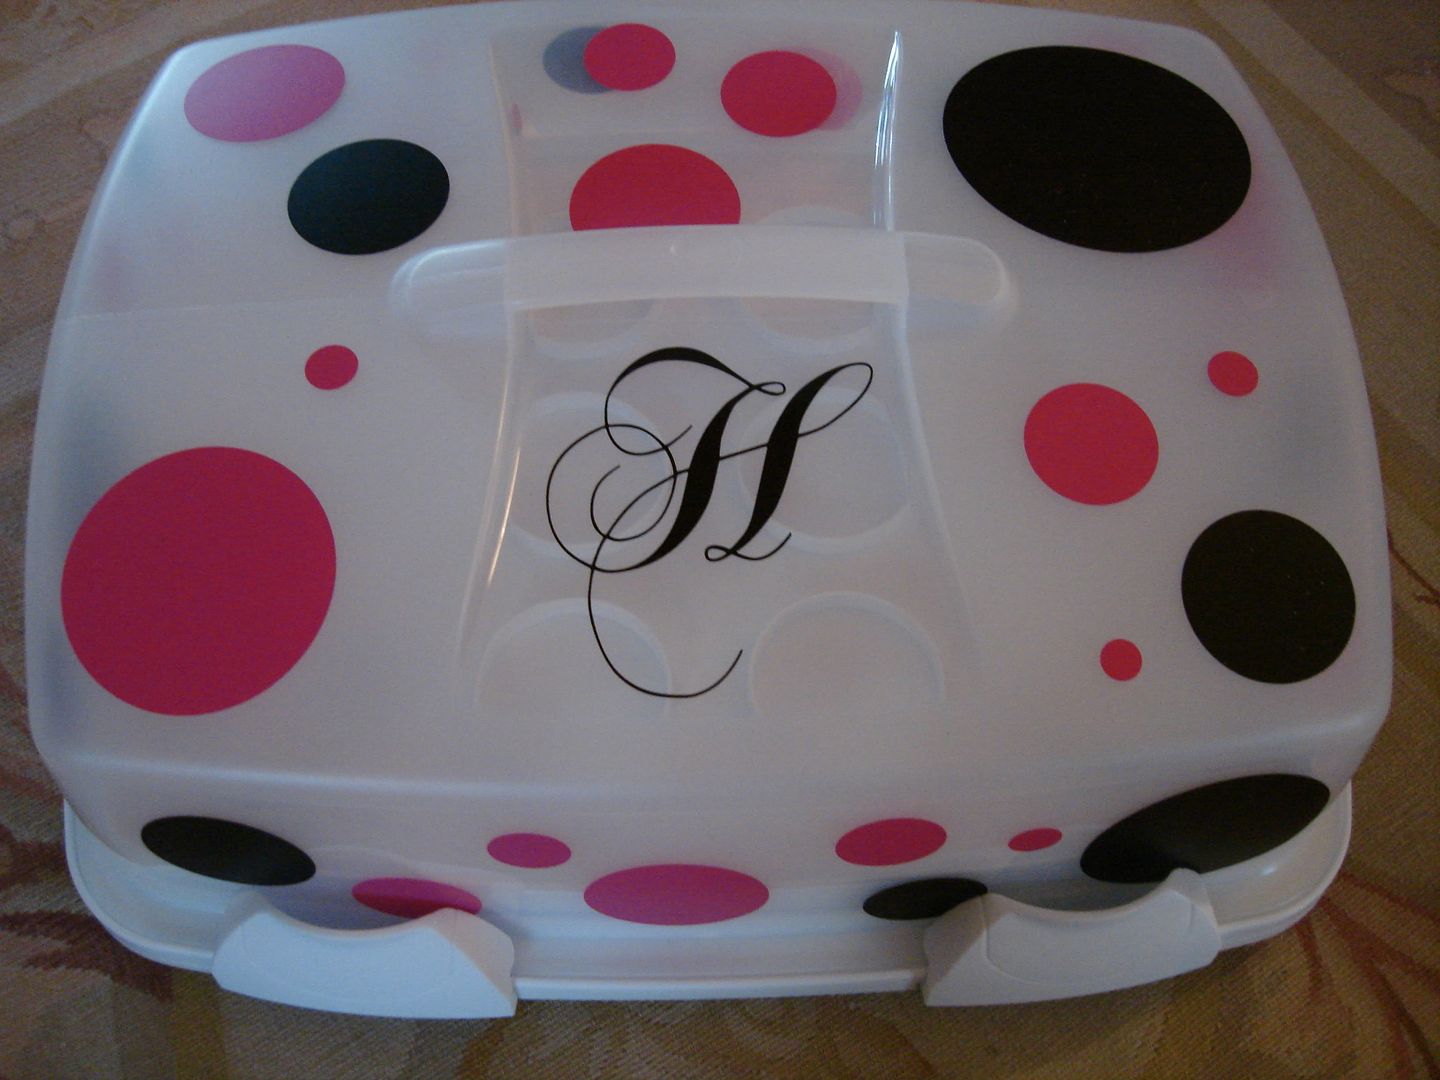
Holly is an absolutely wonderful baker and I scoured Etsy to find something for her since I knew I wouldn't find anything in the mainstream arena that was unique. I saw an idea that I really liked and decided to make it myself. These cake/pastry carriers are popular now and the Etsy idea of personalizing it seemed pretty cool. Yet another google search led me to a company that makes vinyl dots of many different sizes and colors. I picked out a couple of sheets of dots, bought the "H" from another Etsy seller and grabbed a carrier at Michael's. A million dots later, I realized that working with vinyl is not as easy as it looks! I learned quickly that an elaborate font like the one used for the "H" is NOT for a beginner and thanked my lucky stars that the first one actually looked pretty great (the mangled second one was quickly replaced with dots). Second, vinyl grabs air pockets like nobody's business so my first strategy of slapping on the dots meant for lots of bubbles. And while using a credit card to flatten them is a great trick, some dots are just too far gone, especially if they've got pull marks at the edges if I had to lift up the dot to start over. My last mistake was that I bought two different sheets of stickers: one of them had 12" dots down to 2" ones and the other 3" down to smaller than 1/2 and it looked really uneven as the only ones I could use from the black sheet were a bunch of 2” and 5” and none of the pinks were 2”. Take two, I purchased two of the same sheets 5" down to 1/2" and then made a much more cohesive yet still random pattern. Some of the big ones from the 1st attempt were still on it and I think they made nice additions to the random pattern. And I put them on correctly, of course.So, with the second round of dots actually working, I happily gave this to Holly. It's probably good she didn't witness the yelling during the first round, though!

Photobucket

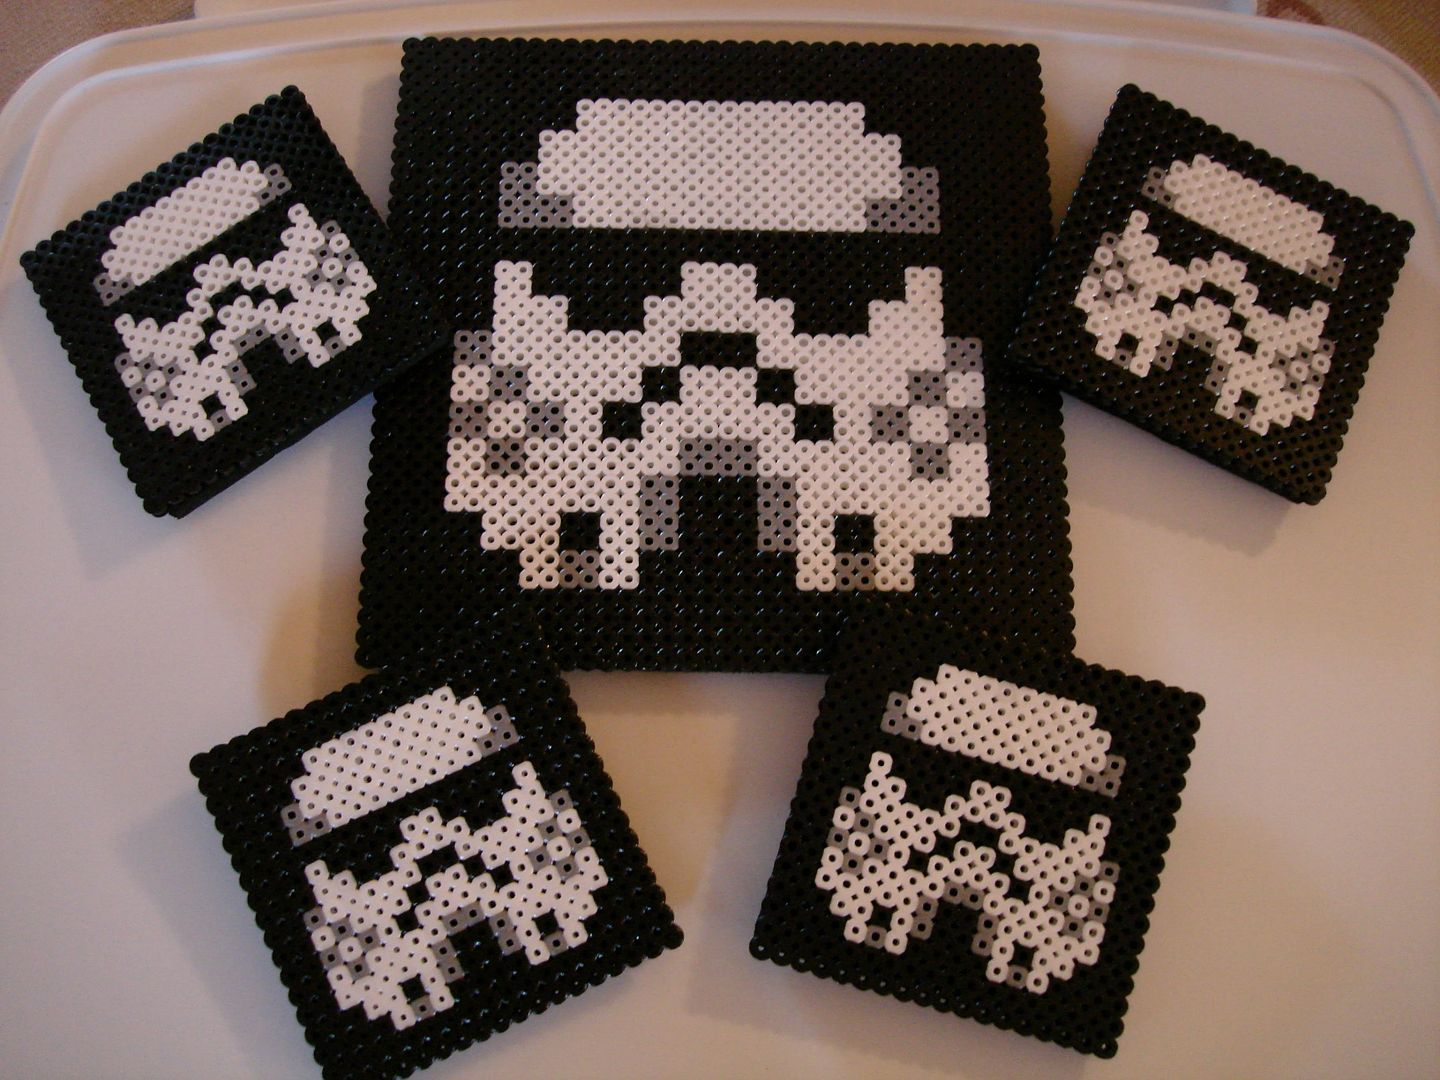
My most exciting project was my present for my brother. Kendall's a big Stormtrooper fan. His friends went as far as to purchase him one of the official (and super badass) Stormtrooper suits that he dons on Halloween (hence the photo mentioned above). Personally, I'd also wear it to the office, but that's just me. So, I always keep an eye out for great Stormtrooper items but he has a lot of them and there are only so many obscure tshirts out there, plus he’s not 5. I came across the next item in another (dare I say it) google search. It was a captured image from an Etsy seller who had sold these years ago. Hmmm, can't buy them for him. Wait a minute! Michael's! So, I researched fuse beads and found out they are used by kindergartners across the nation. Perfect!  Just as an FYI, it is almost impossible to find grey in a store and in the stores near me, I couldn't even find black or white alone. So, after I ordered special boards for the trivet (the Etsy designer only made coasters so math oozed its way back into my projects) and the colors from Michael's, I was good to go. To seal them, you iron them while covering them with ironing paper. Obviously, the kindergarteners don't do this part. And a heads up, they go from sort of clicky and still separated to super melty (bad!) super fast. The other thing that I did, that the guy did not, was add a foam backing. Now, they're about 3/4" and won't slide all over the place. I am so exciting about these!!!

Photobucket

Saturday, January 01, 2011

New State. New Me?

Our move to Mass has left me with a big gaping hole of time while I determine what to do with my pet sitting and look for a "real" job - aka one that gives me health insurance. Man, has it been a LONG time since I've had health insurance.

While decorating our new adorable house, I walked into a Michael's. I had been in one a few times before, but this time, it was as though a screaming siren of joy pierced the air welcoming me to its lair. It's not the layout or the employees or the clutter that called to me (those were telling me to exit quickly), it was all the ideas yelling at me from their shelves. I walked in a complete newbie and out an expert. While my craftiness has manifested itself thus far in taking photos of costumed eggs, taking photos in general and making some jewelry, this store and A.C. Moore have released a maniac in me. I have finally started to get over my "I am the worst artist on earth" dogma and accept that while no, I'll never be able to draw a picture of a human face or even something that most third graders master, that these hands were definitely made for making stuff.

I gravitated first to the scrapbooking materials, paper and punches in particular, but I soon moved on to the pre-fab bird houses and acrylic paint. As the scrapbooking is patiently waiting its turn (and it will get it, oh yes it will) I started tackling the houses first. I've discovered that broad brush strokes are a wonderful form of relaxation for me. I can happily paint over the same spot multiple times and not worry that I'm ruining it. It's not all a breeze though, as there are corners and tight spots to handle. I can get so nervous right before the paintbrush hits these areas that I lose control of my dexterity. It's a great exercise in trying not to be a perfectionist all the time. Splotches might need covering later or might live there forever (what??), but I persevere.

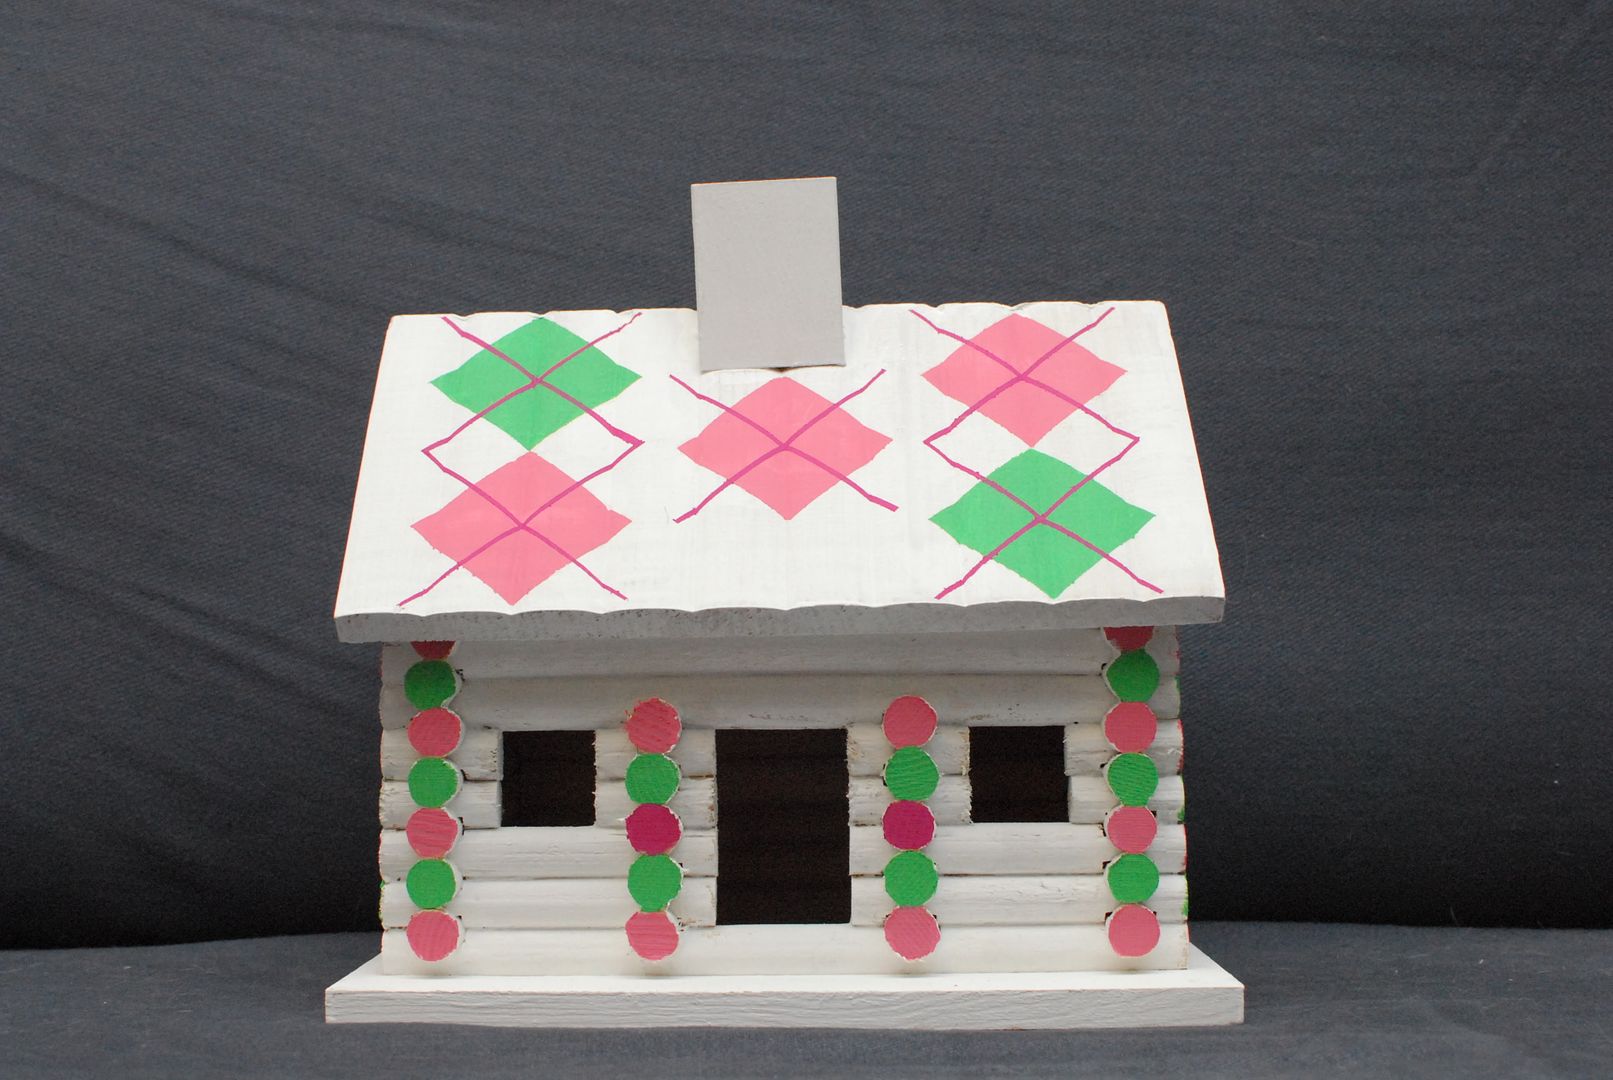
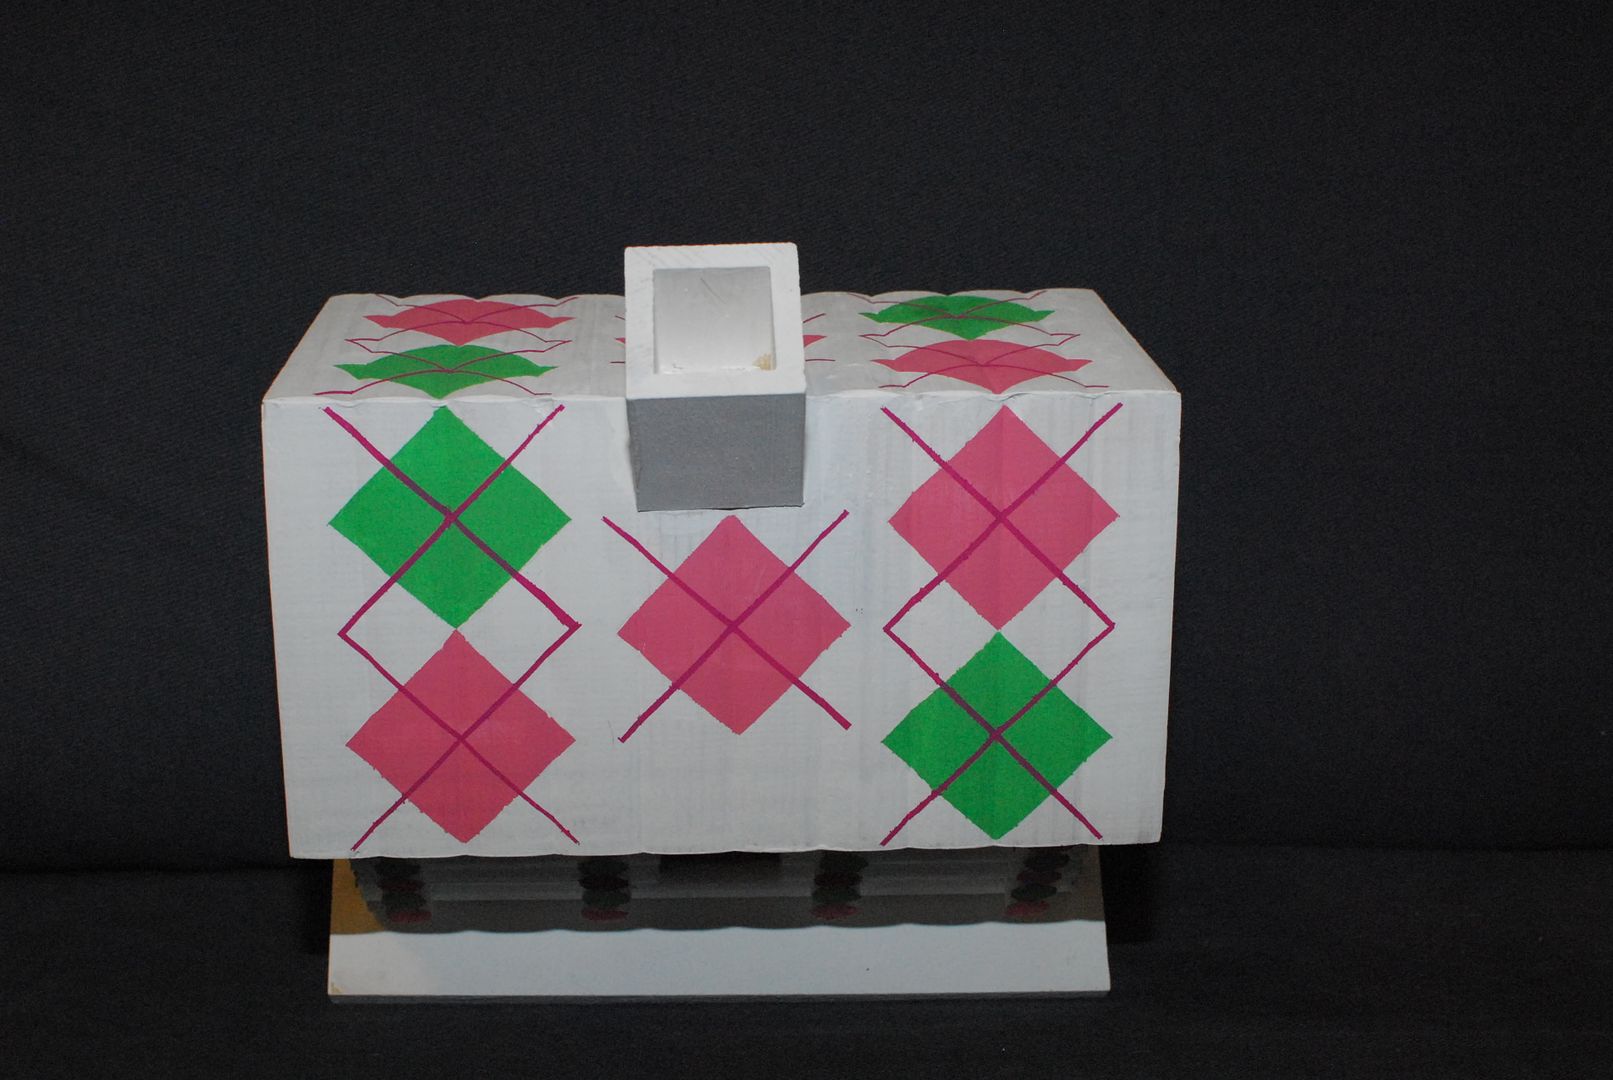
The idea that kept sticking in my head was to make an argyle house, as I have somewhere around 40 or 50 pairs of argyle socks from ankle to past the knee, plus sweaters. I like argyle just a bit. I had the perfect house for it too: a small log cabin. Combined with the argyle, it's the anti-log cabin! Ignoring my lack of talent, I taped the daylights out of it for the patterns, calmed my hand, and gave into the imperfections. And Voila!
Photobucket

Photobucket

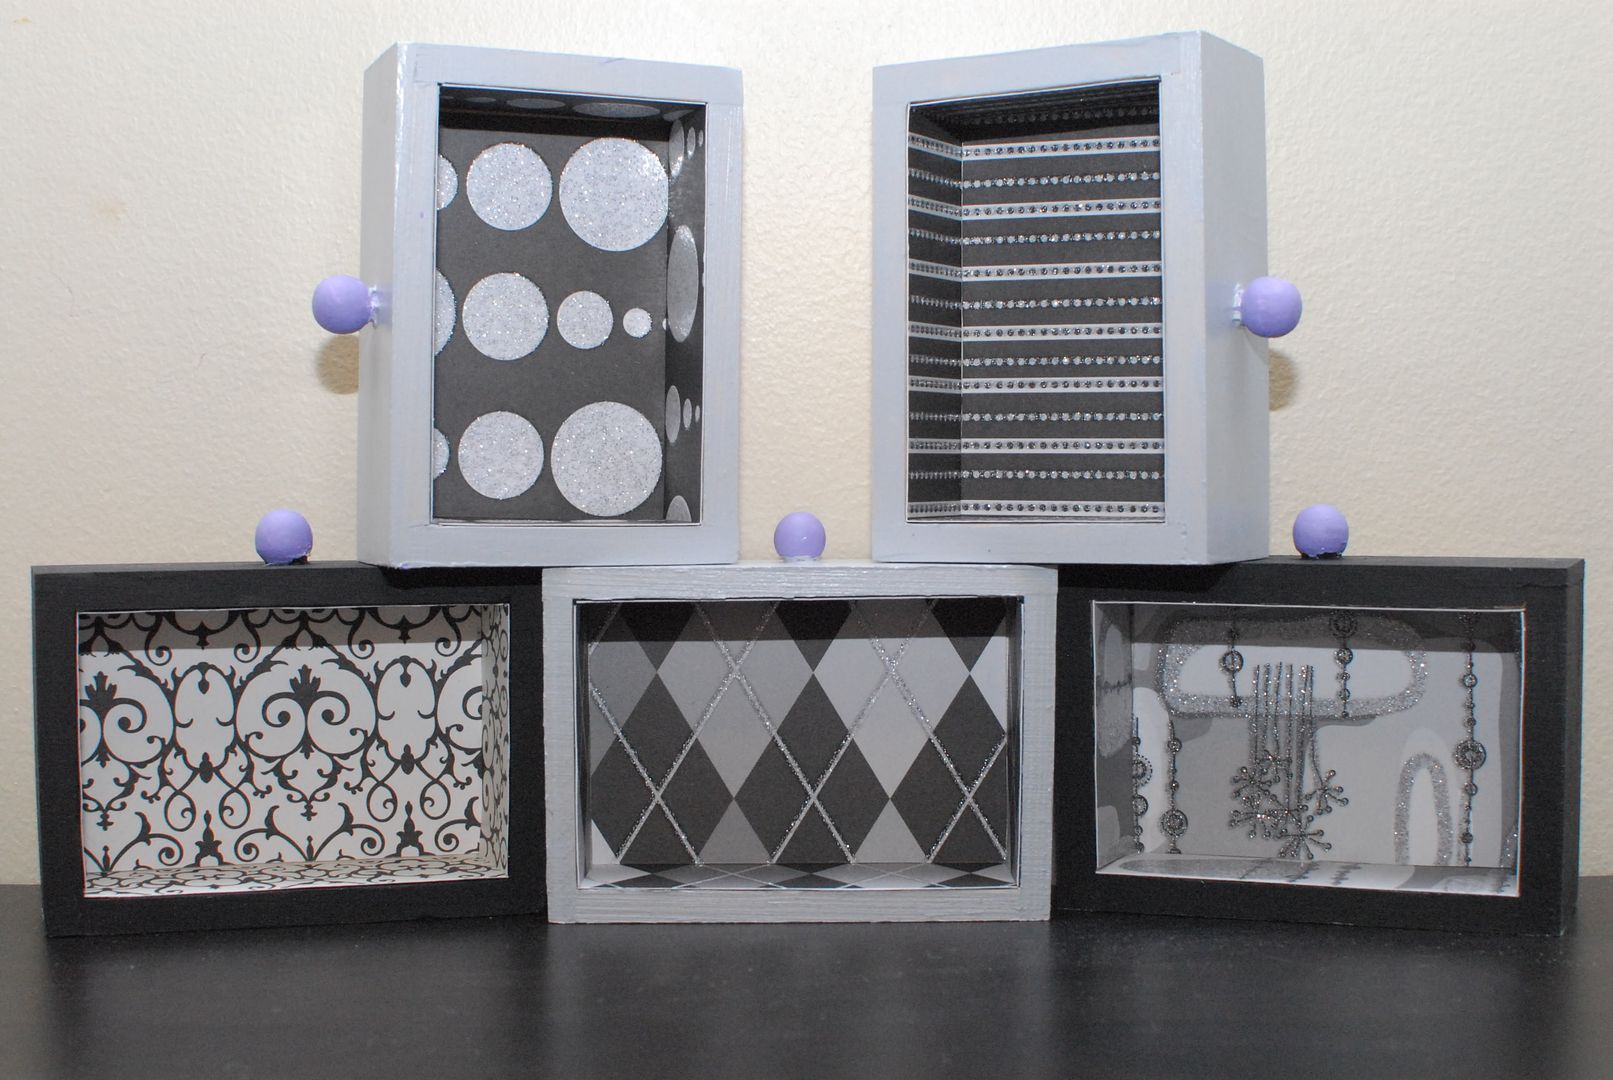
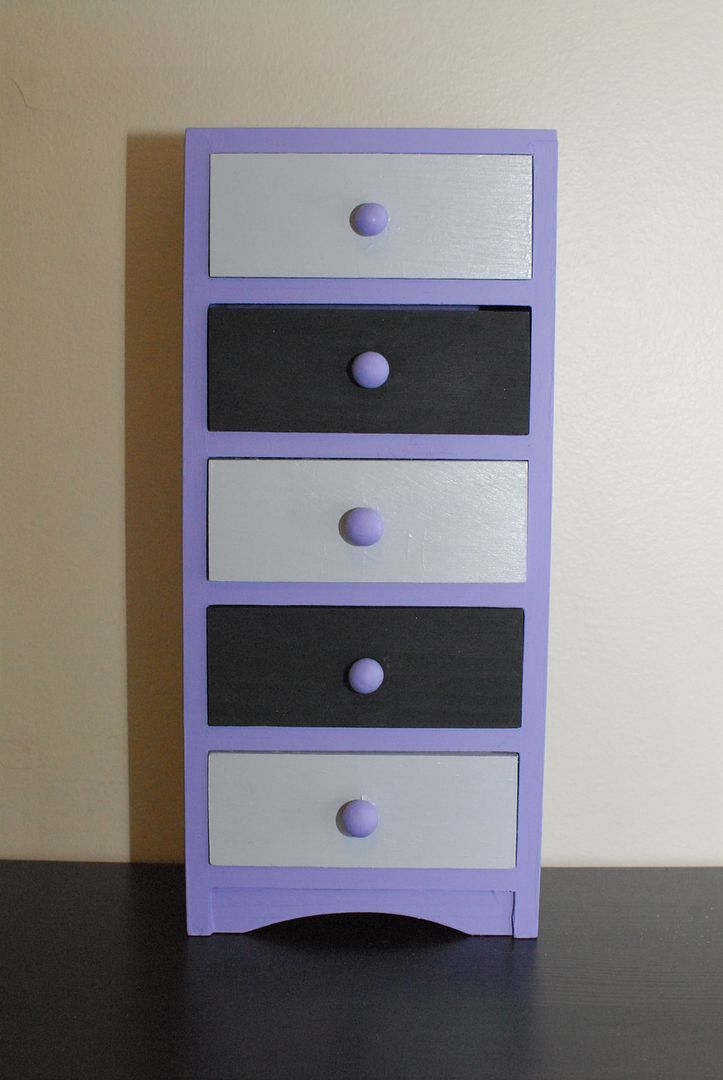
Once I did a handful of birdhouses, I branched out with the woodwork starting with this little bureau that I've made into a cute little jewelry holder. After coming up with the color scheme, (purple, of course), I remembered that I'd bought some very cool glittery black and white patterned stock paper. This is the part where I add that in addition to not being a great hands-on artist, I am a TERRIBLE mathematician.  I often have problems adding two simple numbers, so tackling the measurements and a paper cutter was daunting. There were moments where the frustration marched me right out of the room but I just knew that I'd be so happy with it once it was done. I worked well into the night with my ruler taunting me along the way, but I did it. And I even lined up the argyle pattern so that it connects at the right place! So proud of this little one.
Photobucket

Look at those drawers!!

Photobucket

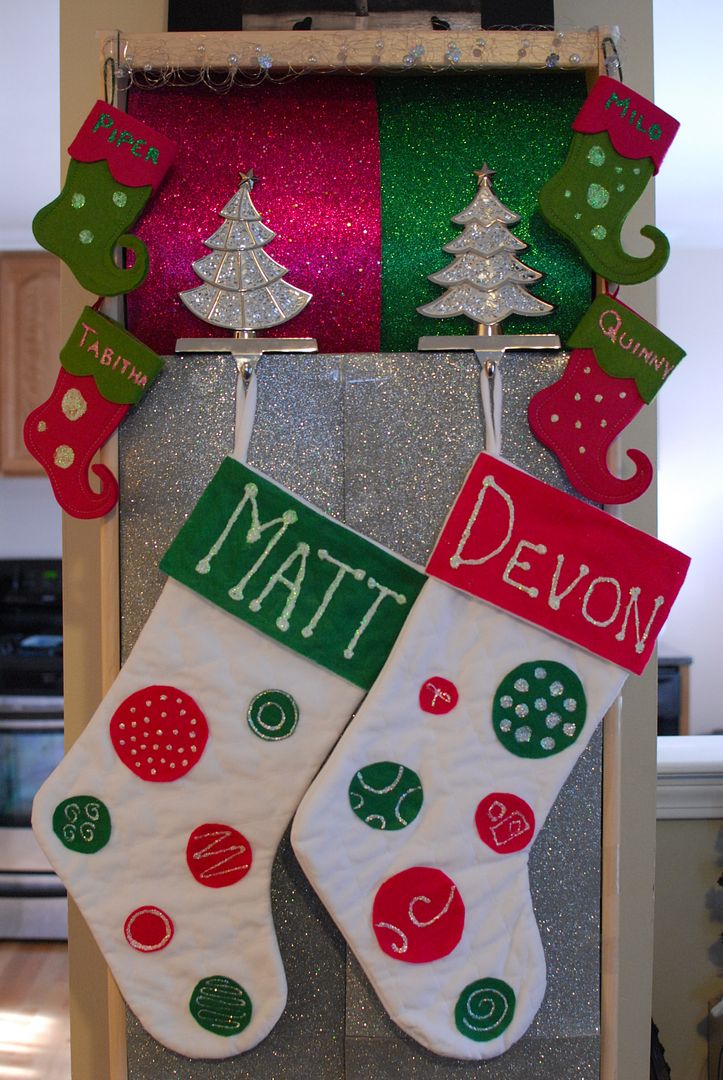
Since Christmas was just around the corner, both stores had holiday craft ideas on every end-cap. I decided I wanted a matching stocking set after seeing the cutest little pink and green stockings that I could glitter paint the cats' names on. I found cheap velvety big stockings at Kohl's and cut out green and pink felt circles and the name plates and decorated everything with glitter paint. 2010 welcomed a cohesive set of super cute stockings for the whole family.
Photobucket

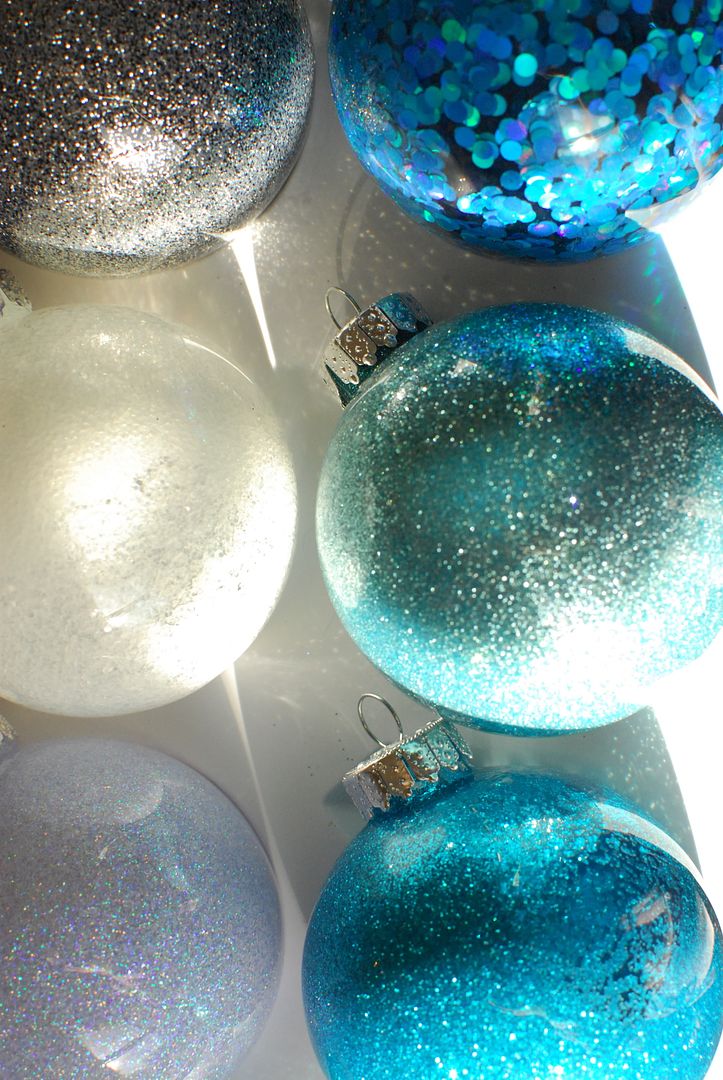
Another potential activity I spotted in the aisles were clear glass ornaments for decorating. One of the thousands of emails from Michael's contained tips on ornament decorating and seeing them piqued my interest. A google search or two later, led me to info on decorating the inside with glitter.

Just so we're clear, I love glitter. I love glitter more than I love argyle socks and purple combined. I would wear a sheen of glitter that you could see a mile away every day if I could. It was only natural that I'd use glitter in my ornament decorating as well.

Using the glitter on the inside as opposed to decorating the outside contains it better, keeping it's sparkly goodness inside forever! Debates on glues were waded through. And then, Fifty or so ornaments later, I can definitively say that I am very happy with my purchase of Delta Ceramcoat Satin Varnish. I went through what seemed like pounds of glitter in this project and I mastered the art of spreading the varnish evenly, letting it drain for just the right amount of time, and adding and rolling the glitter. I even started mixing glitters for optimal color and iridescence. Making these was so hypnotic, I couldn't stop. And I had the added bonus of being entirely covered in glitter by the end of it all. It just doesn't get better than that. 
Photobucket

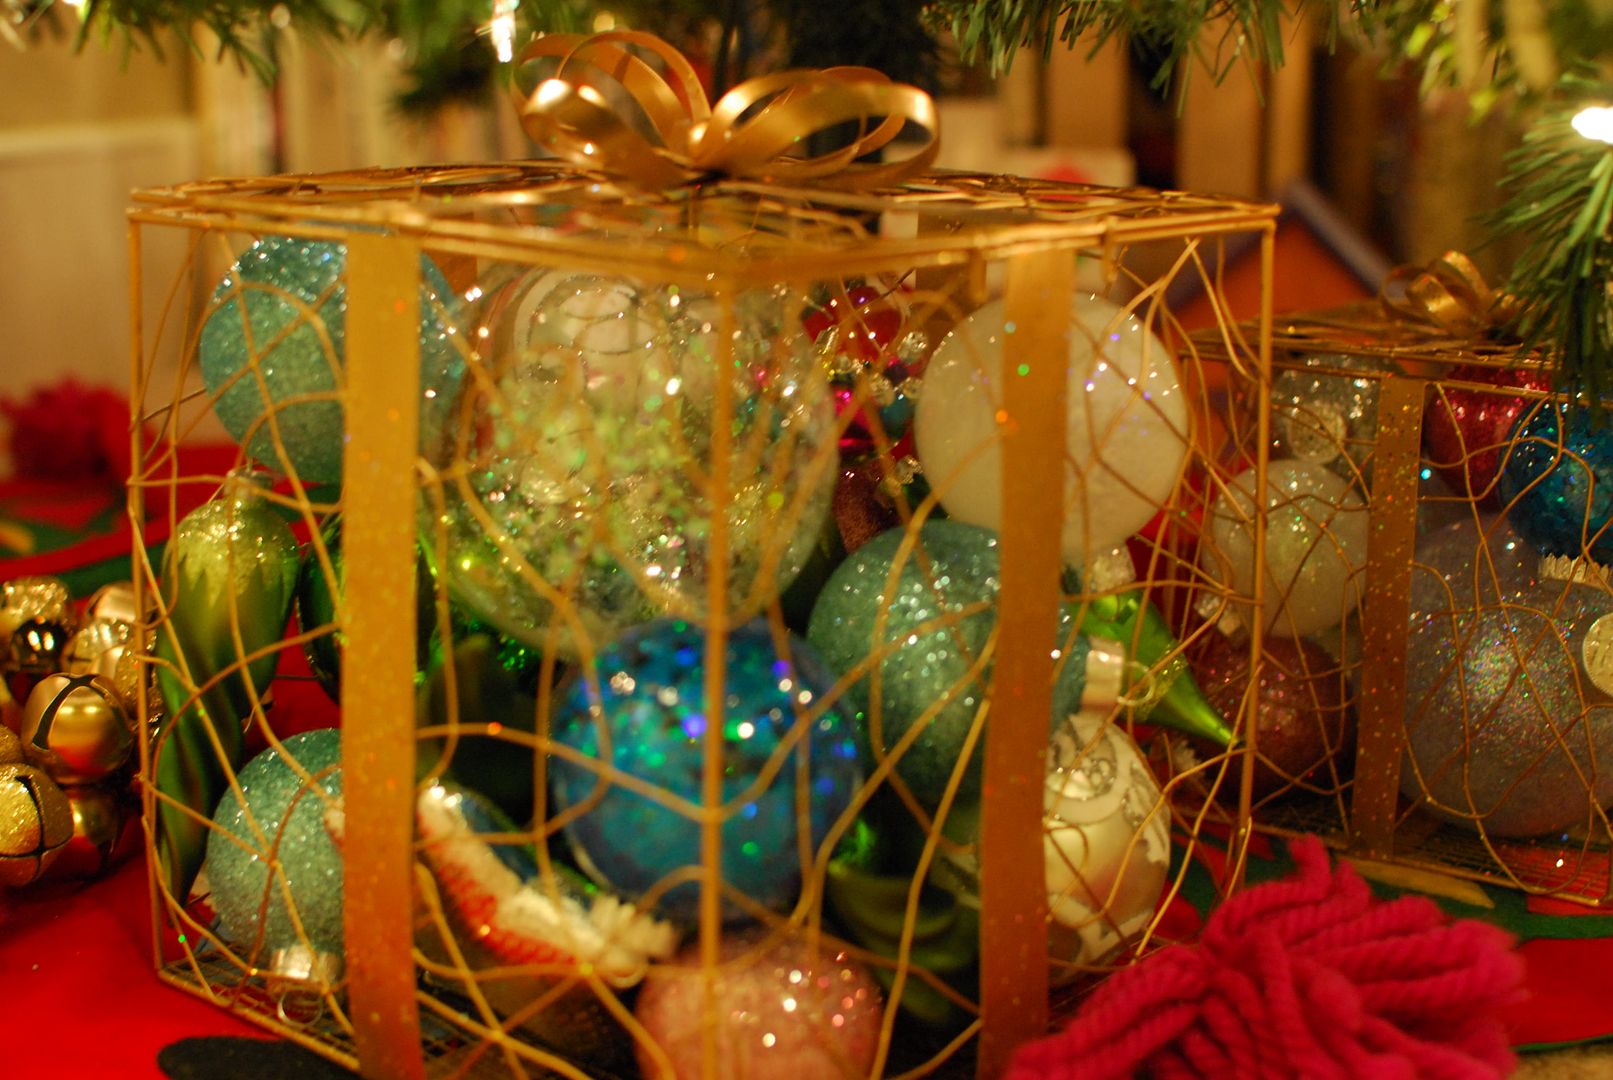
I made so many that with all of the other ornaments I have for the tree (I LOVE ornaments, so I have tons), I ran out of space for these guys and got crafty with glittery gold present boxes that I bought at Pier 1 last year.
Photobucket

Next up: Crafty Christmas Presents!